GitHub Intro & Important Commands for Git
GitHub Intro & Important Commands for Git

"GitHub is a provider of internet hosting for software development and version control using Git."


Let's learn main terminology in Git,
- Repository - Central location where all the files are being kept. Mainly the directory with all set of files.
- Trunk - Most commonly this known as the master branch. This is where the main or the most stable code is being replace.
- Stage - Mark files for tracking changes.
- Commit - This create and snapshot where the files changes happen.
- Branch - This act as a copy of the master branch in this branches the developments and the bug fixes will be done.
- Checkout - unblock files for changing.
- Merge - combine branches together to update the master branch.
- Merge conflicts - This happens when merging a file which has be change in two separate branches or places.
- Start with GitHub
Before, start with GitHub we have to download Git to our own PC. So, we can download Git according to our OS using this link, https://git-scm.com/downloads
After downloading Git to our own PC's we will be able to see Git Bash terminal and the Git GUI in our machines, but in this blog I will teach how to use Git command and and deal with GitHub using Git terminal.
2. Create GitHub Account
Lets create a Git Hub Account using this link, https://github.com/ and we have to sign up and create our account,

You will be able to see a register form their in the GitHub sign up page and there you have to provide your user name, email and password properly.
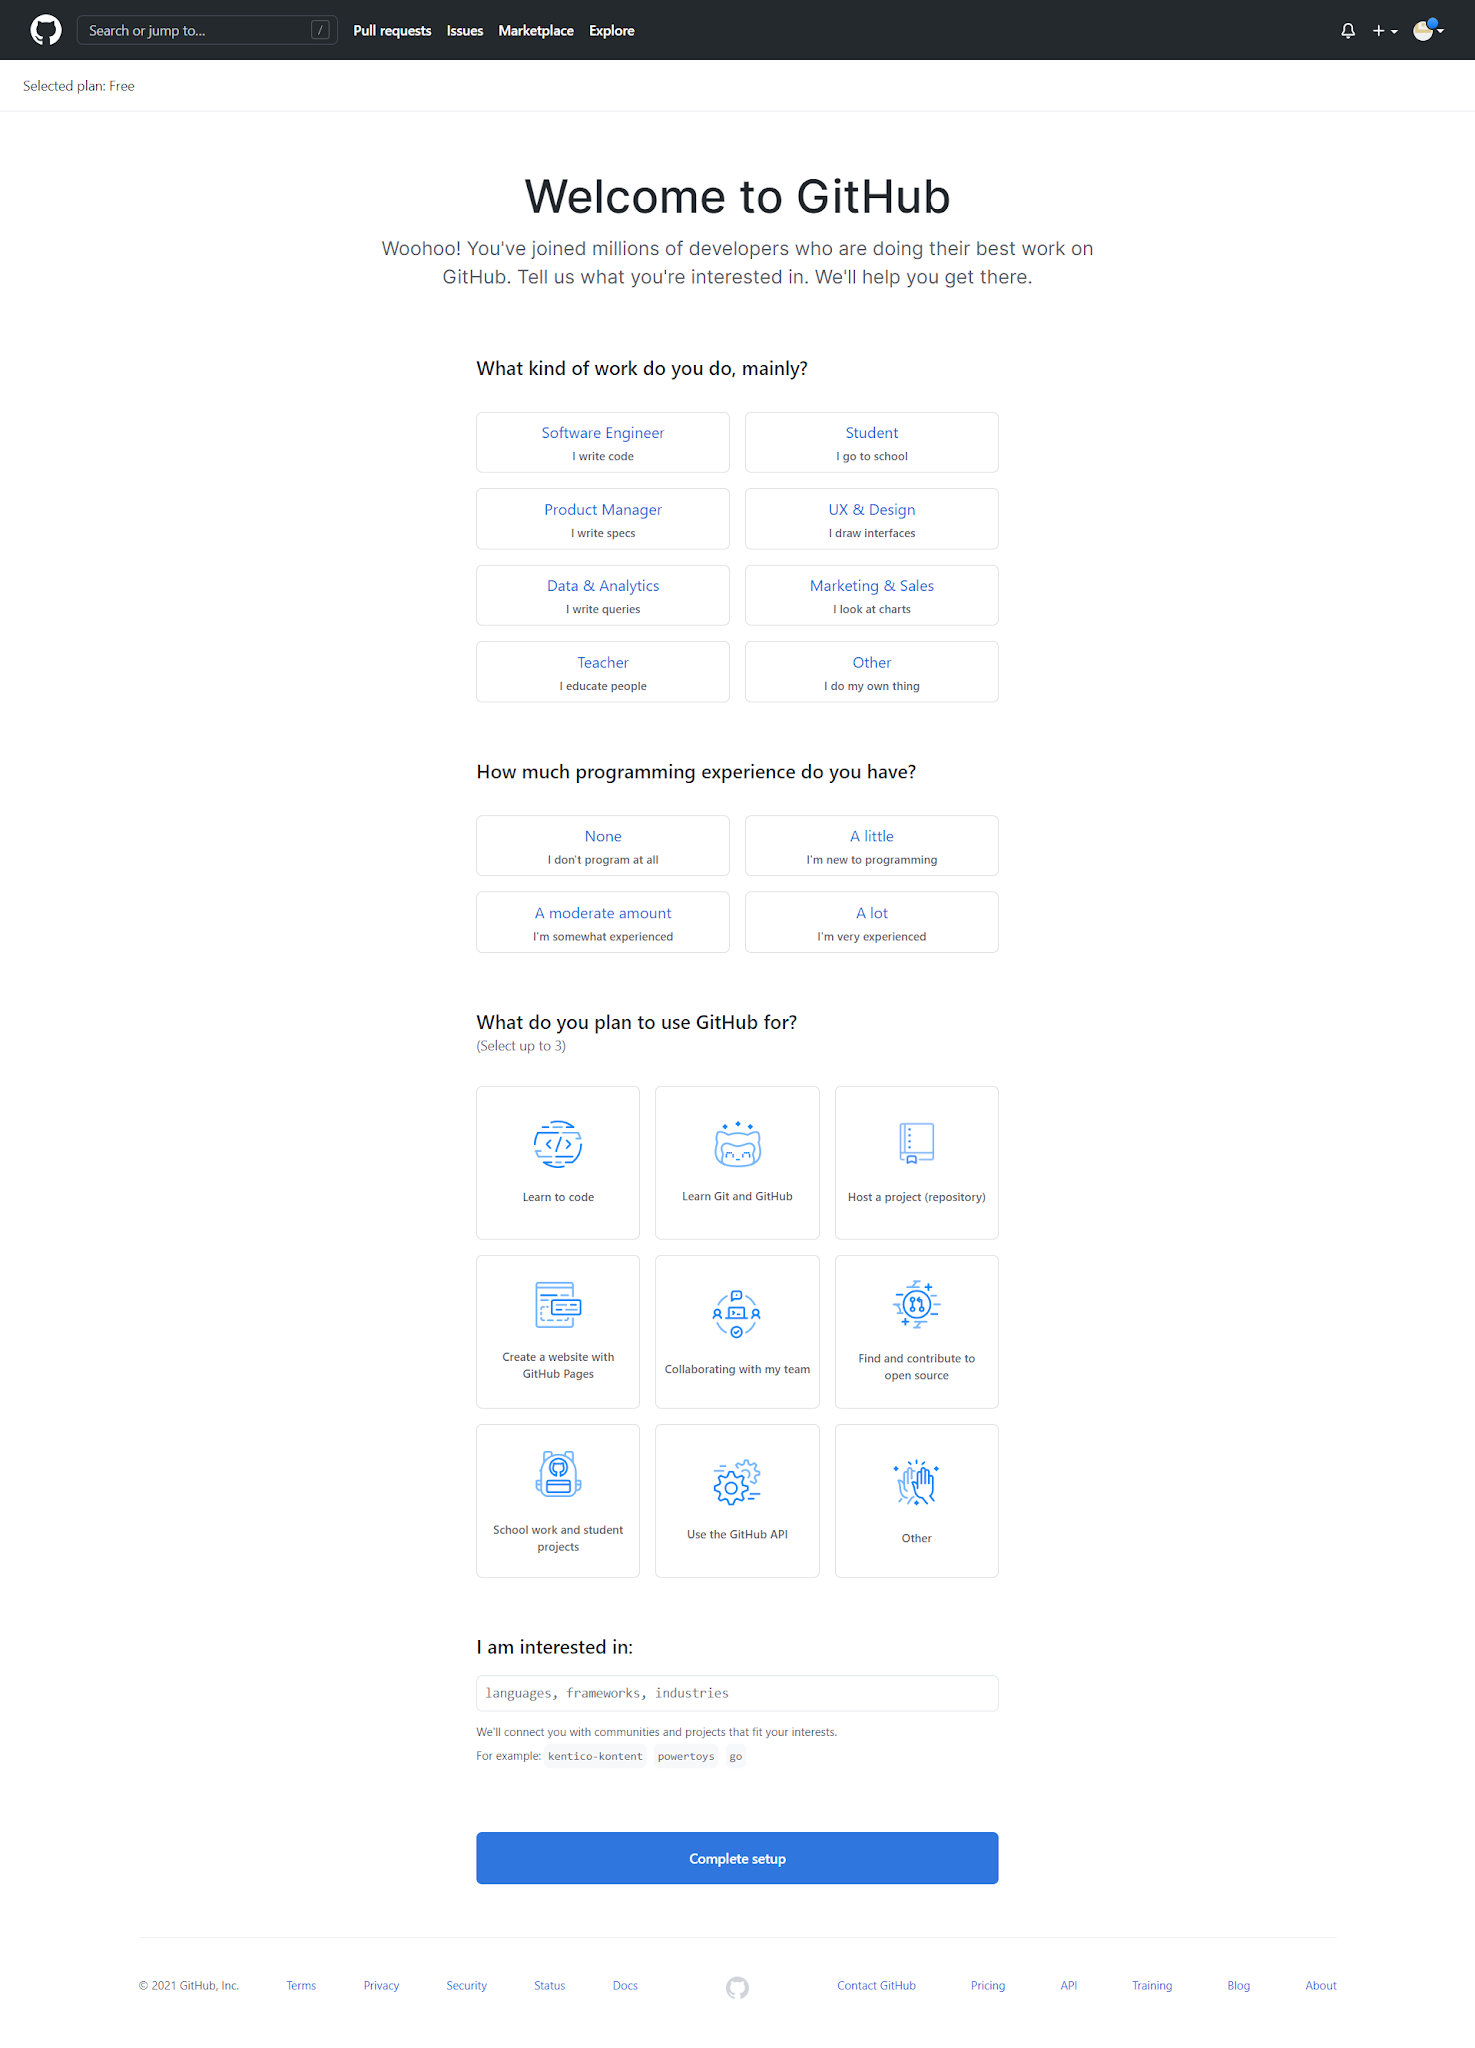
Here we have to provide our profession, working experience, our interesting areas and etc.
Now we will be able to see our GitHub dashboard it should appear like this.

Congratulation, Welcome to GitHub Family!!!
3. Create Repository
Now you will be able to create or import exist repository from your GitHub dashboard. First, you have to click 'Create Repository' button,

Then we will direct to a new page and from there we can provide our repository information.

Mainly we have to decide whether repository should be either private or public, if we choose our repository as an public repo any one in the internet have access to our source codes and they can see our repository. By choose it as private we can decide who should see and who should not.
Finally you can create your repository by clicking 'Create repository' button.
After creating our repository it look like this,

Our repository is already created now!
04.Create project for first time
when we create in our local repository in first time we should give the command to the git terminal as,
git init
this will create .git file in our working folder.

05. Clone project/Repo to our local environment(Already created project)
To clone our created project/repository to our local pc environment, Firstly we have to create our create our working place and their we have to right click and open our Git bash

After that you will be able to turn on Git terminal to clone our repo we want to provide command as,
git clone <repository link>

after cloning the project to the folder path we will be able to see our repo name and inside of that we will be able to see .git file this will track all the changes happen to the file.

06. Push changes to the repository
To do this lets create .txt (text file) in our clone file inside. So we have to move inside of this folder.

After adding .txt file we can see the current changes in our folder by providing the command in git terminal as,
git status

Here we can see redme.txt file adding was the latest change to our folder. So we have to add it. to do that we want provide code as.
git add .
Or, we can add files separately by providing their names one by one,
git add <file name>

Above figure shows that our file is already added, to check that we can easily provide 'git status' command again and check if our file/files added correctly or not.
if we want to restore or remove added files we can use this command,
git restore ---staged <file-name>
this will remove added file according to the file name you provided. If you want to remove all once you can simply provide ' . ' symbol except file name. This will remove all your your development changes done locally.
git restore .
As the next step we need to commit our changes by providing the command of,
git commit -m '<comment>'

After that we can provide push command and push our local changes to the our repository.
git push

We must provide our credentials (username or email and password) to the GitHub after providing the above command.
After proving the correct credentials we will allowed to push or local changes to the main project.

Now, we have push our code to the GitHub. So let's see it was there! if it's there we have to create pull request from the GitHub. but in the first push we don't need to add pull request because we have push our code using master branch. So, we have to create separate branch to our local changes if we use master branch we will push our code to it with bugs but in the master branch there should be clean and bug free code.
07. Creating a new branch

we can create our separate branches by providing the following command,
git branch 'branch name'
now we want to switch to our branch to switch to it from master branch we want to provide this command,
git checkout <branch-name>

Figure show the new branch name details after providing the above commands.
Now we can push or code to our own branch after that we can merge that and combine with our main code or the master branch.
08. Pull Code
we can pull main code from the master branch by providing the command,
git pull origin master
if we want to pull our own branch code to our local folder we can easily provide following command and do that,
git pull
Conclusion!
In this blog we have learn command and steps to create project using GitHub and Git and the same time we learn how to pull and push our local code to this version control system and maintain all the code in a proper manner.

Comments
Post a Comment